

Mulch plastic is one of the items that is commonly used in vannamei shrimp cultivation. How to cultivate vaname shrimp with mulch plastic is also not difficult. In fact, mulch plastic can make cultivation easier. Many farmers use plastic mulch to minimize pond leakage and reduce pond soil erosion. To find out more about the benefits of mulch plastic and how to cultivate vaname shrimp with mulch plastic, let's read this article until it's finished!
Advantages of Plastic Mulch in Vaname Shrimp Cultivation
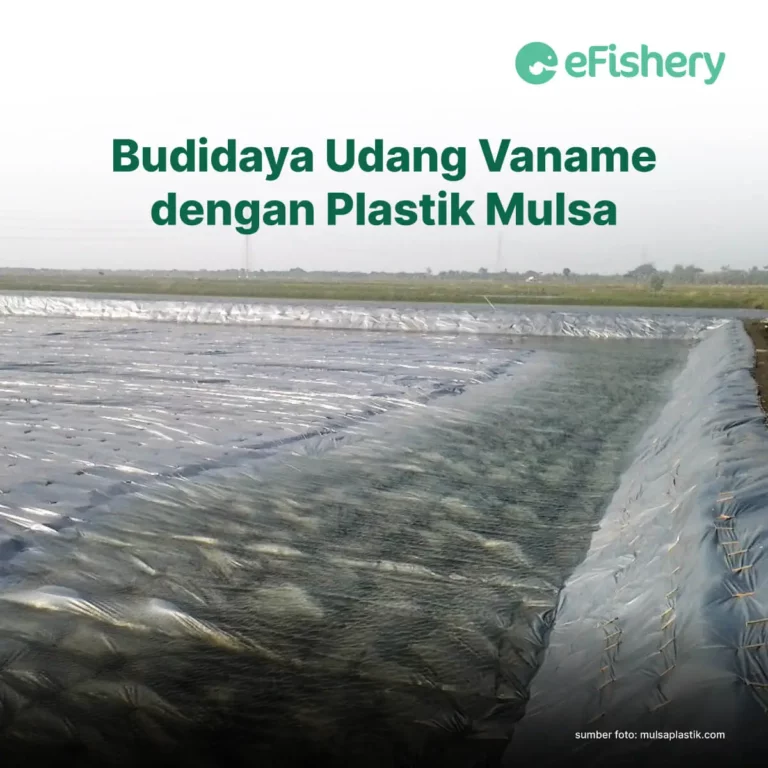
The use of mulch plastic in vaname shrimp cultivation is one of the KKP (Ministry of Maritime Affairs and Fisheries) efforts to increase pond productivity. The use of plastic mulch in ponds can prevent the appearance of iron particles in the bunds, bottom and pond water. Plastic mulch can also eliminate porosity, pond water leakage, and prevent the churning of mud at the bottom of the pond by the mill current.
The cost of using plastic mulch is not expensive, only IDR 14,500 per 10 m2. Although cheap, plastic mulch can be used for up to 2 cultivation cycles. However, don't choose the wrong plastic mulch because there are many types available on the market. Choose black and silver mulch plastic. The silver part of the mulch can reflect sunlight which can optimize the photosynthesis process, maintain pond humidity, and reduce the risk of disease. While the black part will keep the temperature at the bottom warm. In addition to those previously mentioned, here are the advantages of using mulch plastic.
- Minimizing pond porosity and leakage.
- Increase shrimp productivity, especially in pond soils with low pH.
- Reducing the erosion of the pond bottom by the windmills thus minimizing the spread of the virus.
- Pond waste is collected more easily so that the feeding area is cleaner. Clean pond management will maintain the quality of the shrimp farming environment, thereby minimizing the risk of disease in shrimp.
Methods and Tips for Installing Plastic Mulch in Vaname Shrimp Ponds
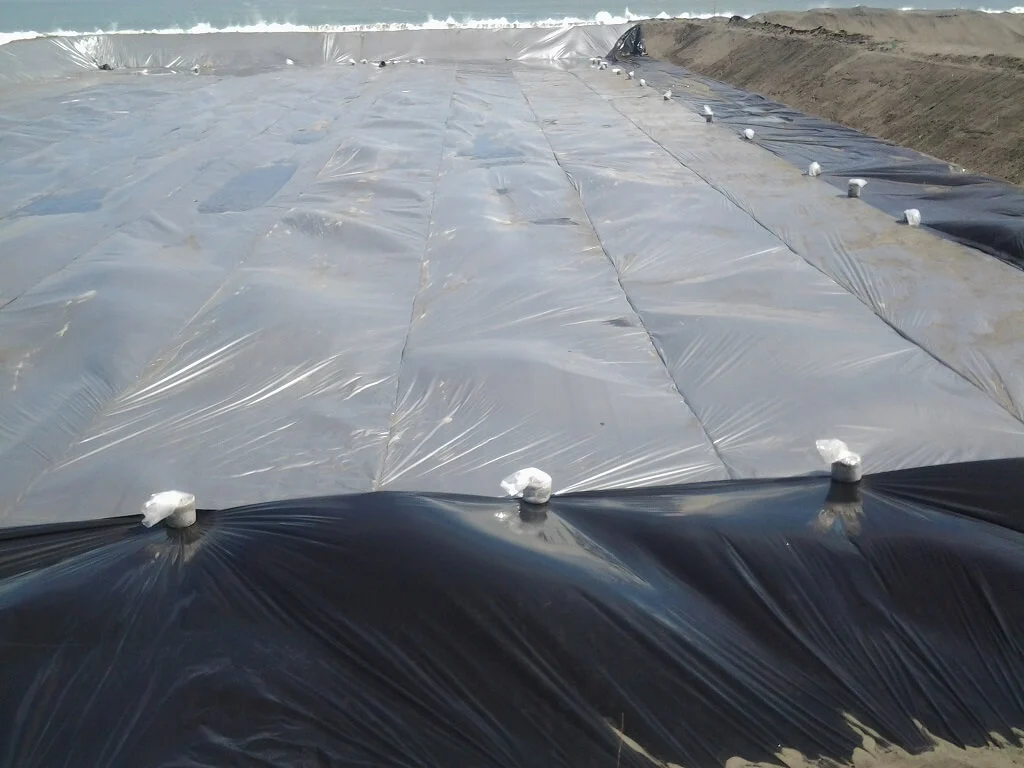
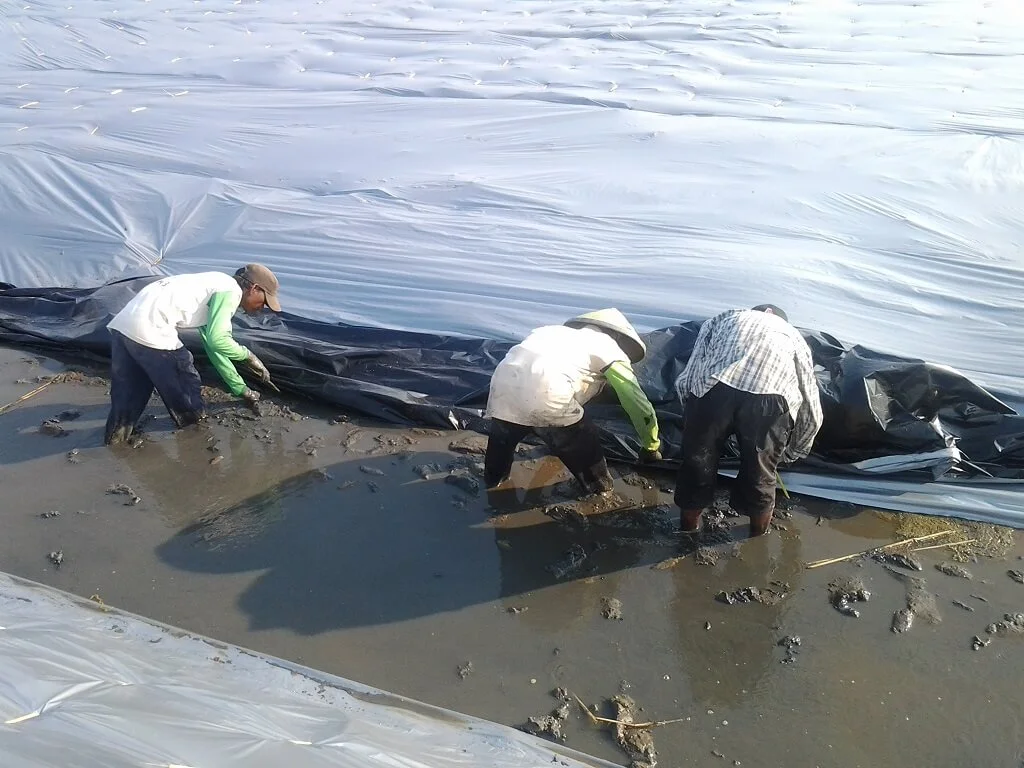
You can get mulch plastic at shops that usually sell cultivation tools on the market. Plastic mulch can only be used for 2 times the cultivation period and after that it must be replaced with a new one. Installation of plastic mulch is carried out after the pond calcification stage and before the water filling stage is carried out. To maintain and minimize damage that occurs during cultivation and during harvesting, installation of plastic mulch must be done carefully in the following way:
- Put mulch on the bottom and walls of the pool.
- Use help staples to anchor the mulch to the soil.
- Staples can use bamboo blades shaped like the letter U.
- Install the mulch evenly and there should be no folds in all parts.
- Install the mulch tightly and prevent leakage.
- After it's finished, you can immediately fill in the water.
To avoid the failure of shrimp farming with mulch plastic, here are tips on using mulch plastic so that shrimp farming with mulch plastic can work well:
- Installation of plastic mulch can be done properly and correctly to avoid leaks or tears caused by sharp objects and others.
- Installation of mulch plastic must be done as needed, such as silver which is only installed at the base and black on the bunds.
- Treat the mulch with care, such as not stepping on the thin parts of the mulch when harvesting.
How to Cultivate Vaname Shrimp in Plastic Mulch
Preparation of Cultivation Ponds
Pond preparation is the most important initial stage in the cultivation process. In vannamei shrimp farming, the pond preparation stages include site selection, draining the water, drying the soil, and liming. Check out the full explanation together, come on!
- Selection of Pond Locations
To support shrimp life during the cultivation process, ponds must be located near water sources and in areas that are not prone to flooding. When the location of the pond has been determined, you can start digging the ground to make the pond 1-1.5 m deep. After that, fill the pond with clean water and let it sit for 5-7 days. - Pond Water Drainage
When the water in the pond has been standing for 5-7 days, drain the pond water through the drain hole that has been made. Drain the water from the pond until it is completely dry and there is no water left. After that, leave the pond until the bottom is filled with mud. This is done to sterilize the pond from pests, bacteria and diseases that can attack vannamei shrimp later. - Soil Drying
After that, the next stage is the process of drying the soil, including the mud that had filled the bottom of the pond. This drying process takes 7-10 days, depending on the weather in each area. - Liming
Finally, do the calcification process by sprinkling lime on the bottom of the pond evenly. Then, let stand for a few days until the lime absorbs in the pool. This process is carried out so that the pond has a constant pH and becomes a good environment for vannamei shrimp growth and development.
Water Filling
Water filling is done after the mulch plastic has been installed. To ensure that there are no leaks from the mulch plastic, you can add water in stages. After the pond is filled with water, let it sit for three days, then add 20-30 ppm chlorine to clear the water.
Spreading Shrimp Fry
Spreading shrimp fry is done when the pond water is green. The green color in the pond indicates that plankton has grown and filled the pond. With intensive cultivation, the stocking density of shrimp fry can reach 80-100 individuals/m2. Choose good and healthy fry because they can survive and live better in ponds.
Care and Maintenance
Pond maintenance is carried out by paying attention to salt content, pH, and water circulation to support the development and change of shrimp. Meanwhile, vannamei shrimp feeding can be adjusted according to the age of the shrimp. Shrimp fry weighing 0.01 gram can be fed around 3 kg per 80-100 fish. For shrimp fry weighing 0.5 grams, the feed given is 11.22 kg with the same number of fry.
Harvest
Vaname shrimp can be harvested at the age of 60-70 days after the fry are stocked in the ponds. At this age, the weight of the shrimp has entered into the ideal weight to be harvested and sold on the market. Harvesting is done when the shrimp are alive using nets. Then, store the harvested shrimp in a cooler box to maintain the quality and freshness of the vannamei shrimp.
Know More Tips on Shrimp Cultivation on eFarm